How to Create Customer Group for Smart POS
Step 1:
Begin by accessing the Smart POS menu, then navigate to the Customer Group section. Within this section, click on “Add Customer Group” to initiate the process of creating a new customer group tailored to specific pricing and privileges.

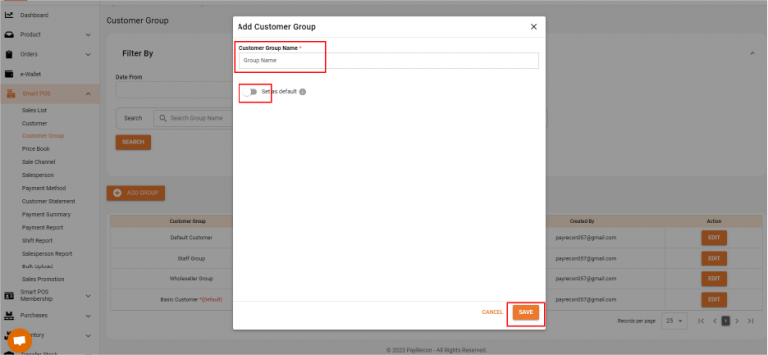
Step 2:
A tab will appear on your screen, providing a space for you to input the desired group name. Once you have filled in the group name, click “Save” to confirm your selection. If you want the customers to be automatically included in this group, make sure to check the “Set as Default” box before saving your settings.
Step 3:
With the customer group successfully created, return to the main Smart POS menu and select the “Customer” option. Here, you will find a list of your customers.

Step 4:
To efficiently categorize your customers, select the individuals you wish to include in the newly created group. Once you have made your selections, click on “Bulk Add to Group.”

Step 5 :
Review your group selection & click “Confirm” to complete the process.
