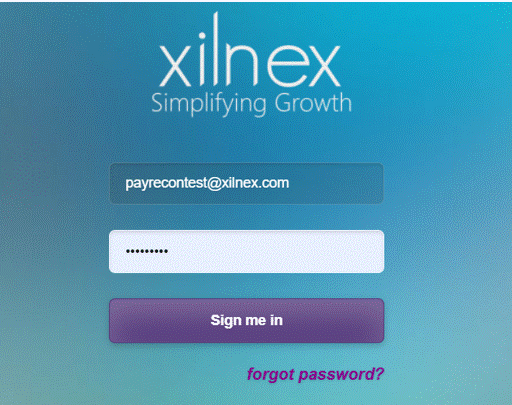
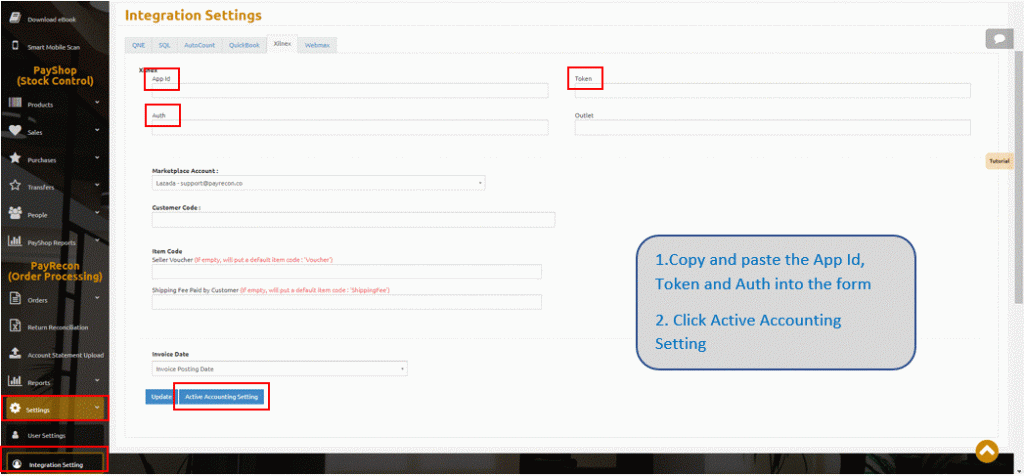
How to Set Up Xilnex Web App Integration Setting?
Step 2:
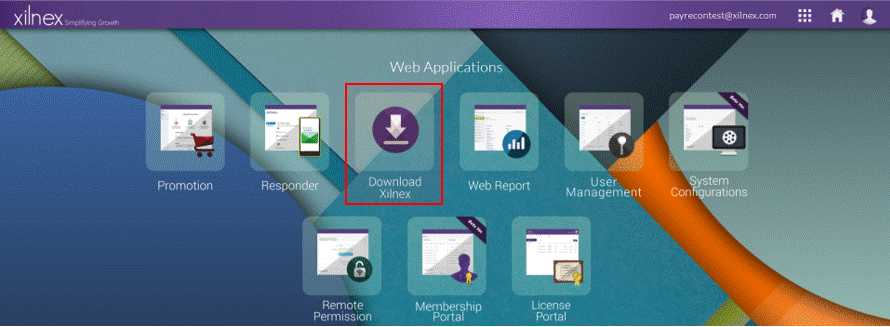
Step 3:
Login to Xilnex Retail POS
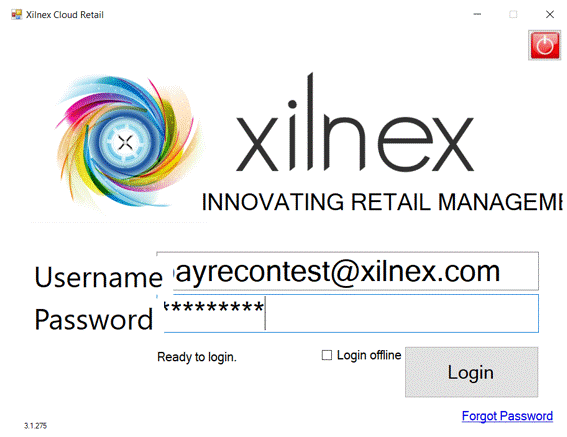
Step 4:
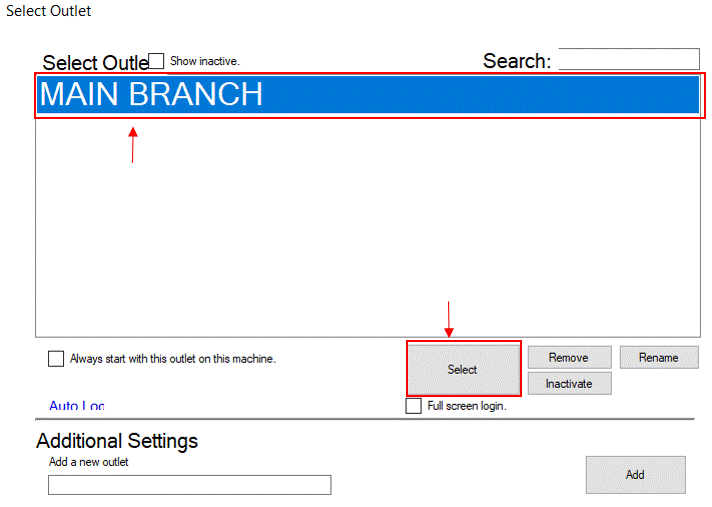
Choose outlet and click SELECT
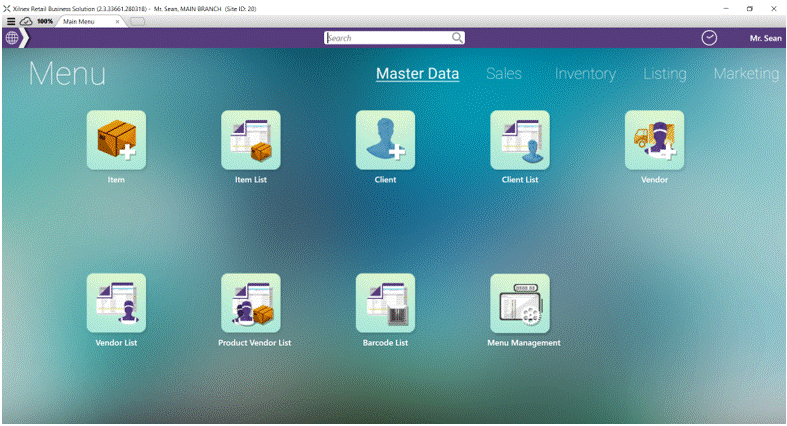
You are now successfully login to Xilnex Retail Business Solution
Step 6:
Go to home page and click CREATE PROJECT under project listing

Step 7:
Complete all the fields such as Project Name, Develop Company and Company Alias. Suggested to fill in as below:
– Project Name: Your company/brand name x Payrecon
– Develop Company: Payrecon
– Company Alias: support@payrecon.co

Step 8:
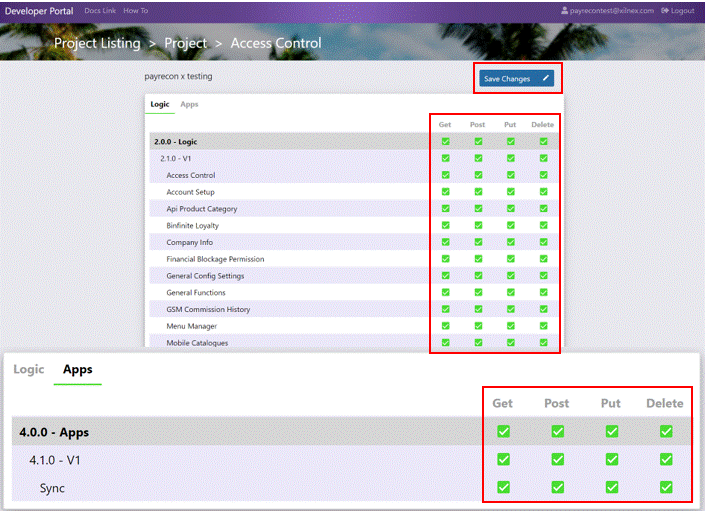
On Setup Access Control page, you will be managing the API access of current project
Step 9:
Select ALL boxes on Logic and Apps, and click SAVE CHANGES when you are done. You will be redirect to the project page
Step 10:
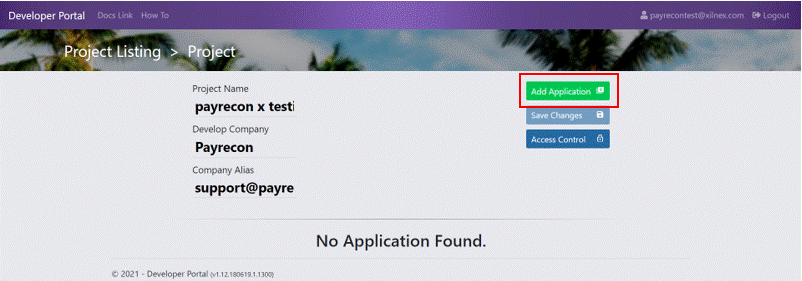
Create a new application by clicking ADD APPLICATION
Step 11:
Fill in all the fields and click OK. You will be redirect to application page

Step 12:
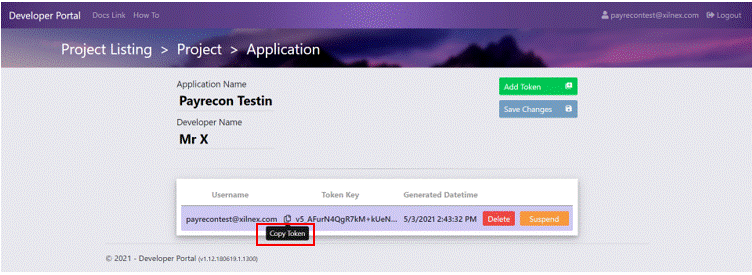
Right now you already have the App ID, you need to create Token. Simply click on ADD TOKEN to create token

Step 13:
Copy the AppID and Token
Note that:
Once you copy token, open Notepad and paste them inside it. Then, you can paste them easily to Payrecon

our regional retail technology provider
Since 2007, Web Bytes Sdn Bhd has empowered more than 5,000 retail merchants across Southeast Asia with Xilnex, one of the pioneer cloud-based POS solutions in the region. As one of the fastest and most innovative retail solutions company, processing billion dollars’ worth of retail transactions per year, our mission is to simplify growth for retail and supply chain businesses by empowering them with the most innovative technology.
